This is a new updated disassembly of the 8700, the pictures in the old link do not seem to work for everyone, so here is a tear down of a 8700g, enjoy.
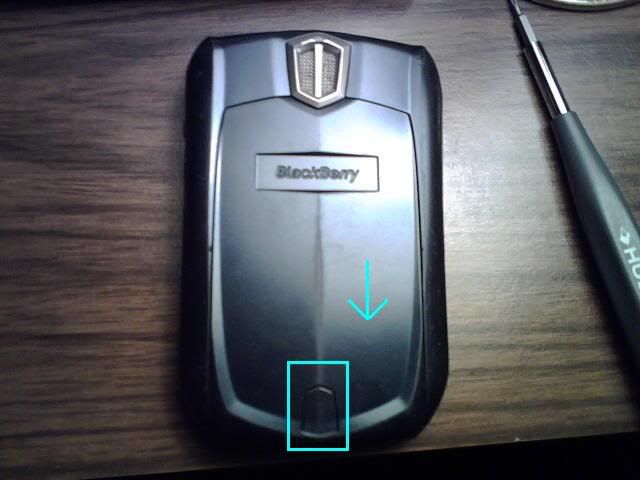
Step 1: Remove battery cover-
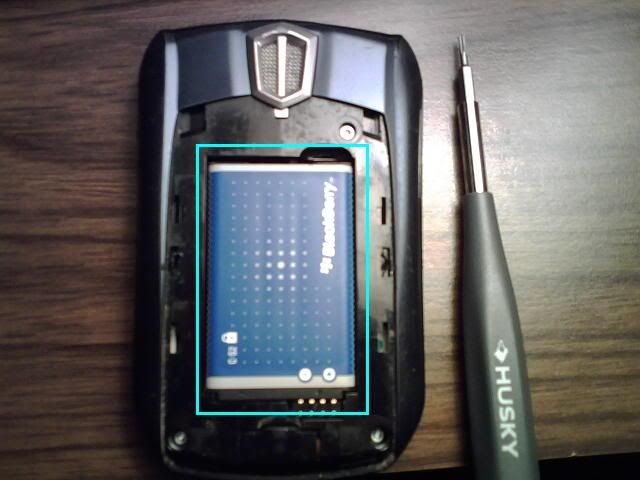
Step 2: Remove battery-
Step 3: Remove three torx screws (highlighted in yellow)-
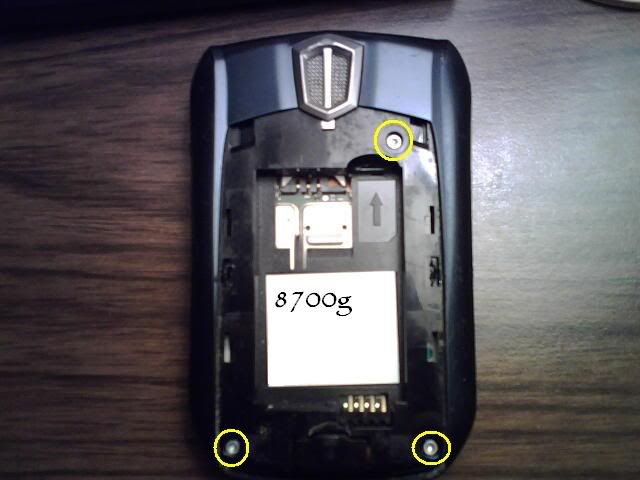
after removing screws pull from bottom of device in crease until top layer ejects.
Step 4: Remove 4 screws from ribcage (highlighted in yellow)-
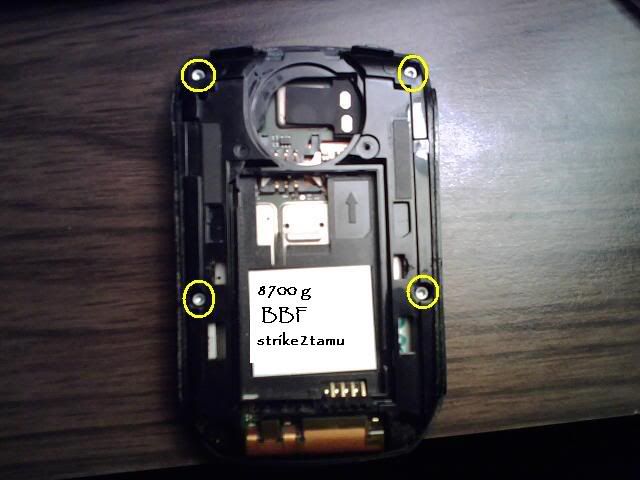
after screws have been removed, lift slightly and to the left away from the scroll wheel.
Step 5: Motherboard/Antenna-
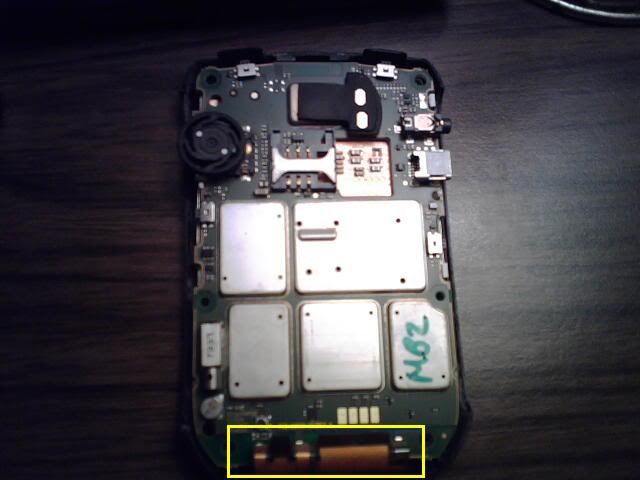
lift this piece out gently, wear gloves or have a microfiber cleaning cloth ready for fingerprints to lcd on reverse side. Antenna highlighted in yellow.
Step 6: Lcd Panel-
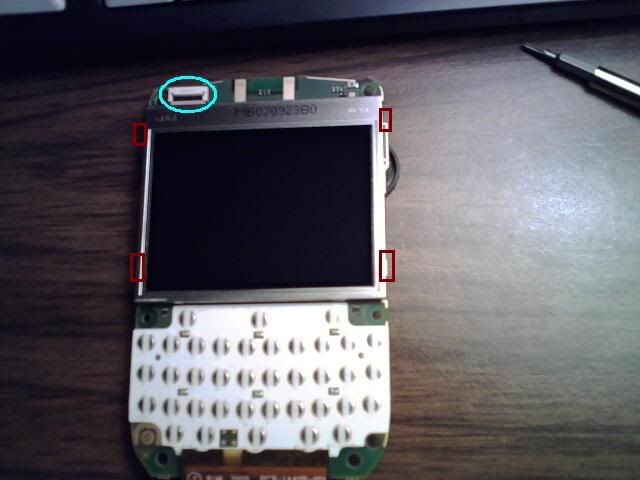
to remove lcd lift small black flap (highlighted in turquoise), the gently unclip retaining clips on one side(highlighted in maroon) and lift out.
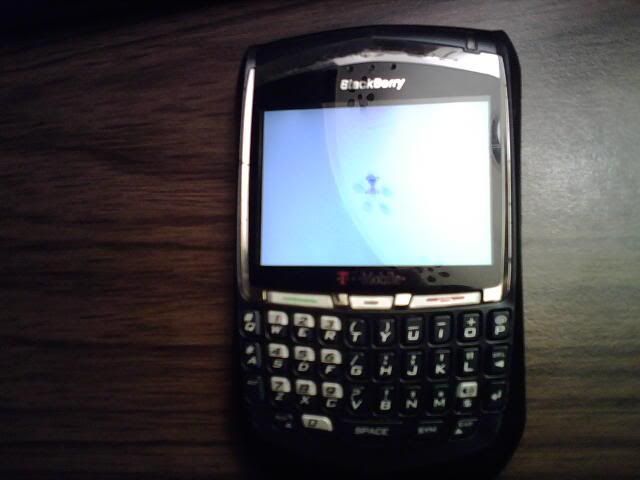
Put all pieces back together in reverse order, if all goes accordingly you will end up with the start up screen upon battery replacement.